Introduction
Store Configuration
Managing Orders
Launching Your Store
Beluga Next Steps
Email Templates 🧾
Templated Styling
The email templates use Handlebars, and are sent via the package email-templates. Each order status change triggers an email for that status, using the corresponding email template and subject line:
├── emails
│   ├── Ordered
│   │   ├── html.hbs
│   │   └── subject.hbs
│   ├── Processed
│   │   ├── html.hbs
│   │   └── subject.hbs
│   ├── Received
│   │   ├── html.hbs
│   │   └── subject.hbs
│   └── Shipped
│       ├── html.hbs
│       └── subject.hbs
The logic for sending emails lives in server/orders.js. To set up Nodemailer with a Gmail account, see Setting up Gmail Oauth2.
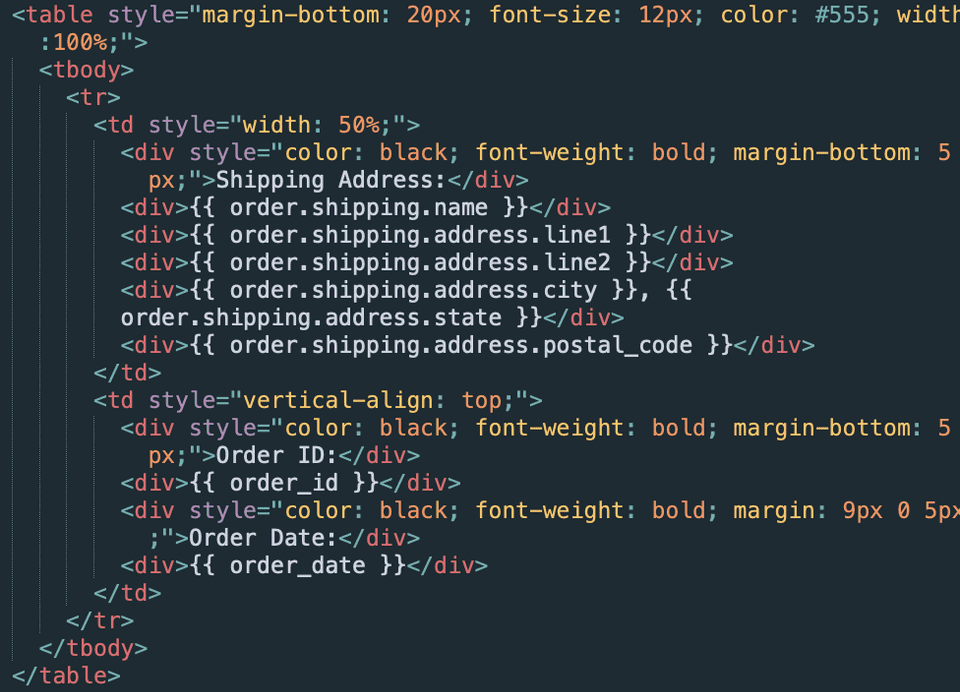
The function sendEmail() takes order and store config variables, and passes them to the corresponding email template. The template is rendered as HTML via Handlebars:
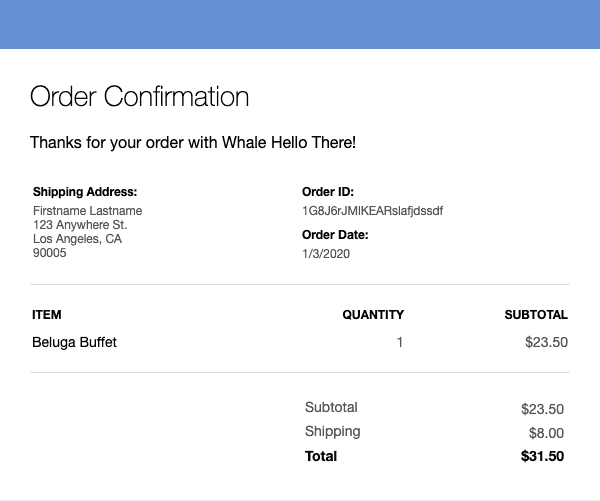
Below is an example of the final rendered email. Note, the banner color at the top of the email is set in the store theming page as the "Banner" color. For more information, see Theming & Design.
Shipping Notification Emails
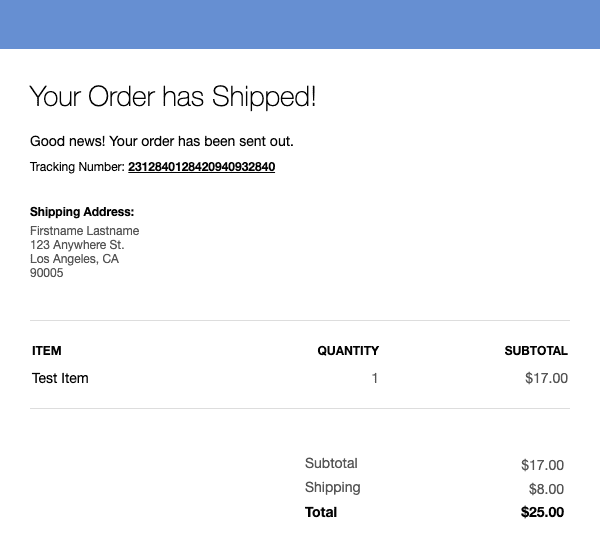
The /admin view has a textfield for inputting the shipping tracking number, which renders in the template like so:
If you know that you will always be using one shipping provider, consider making the tracking number a link in the email template (/emails/Ordered/html.hbs). Here's an example, if you were using USPS:
<p style="font-size: 14px; margin-bottom: 10px;">
  Good news! Your order has been sent out via USPS.
</p>
<p style="font-size: 12px; margin: 0 0 30px;">
  Tracking Number:
  <a
    style="color: black;font-weight: bold;"
    href="https://tools.usps.com/go/TrackConfirmAction
    ?qtc_tLabels1={{ order.shipping.tracking_number}}"
  >
      {{ order.shipping.tracking_number}}
  </a>
</p>


